Some of them were interesting, some were boring.
The sewing and quilting have special place in my life, so I began each new project with much joy.
A friend of mine will become a grandmother. What is the most beautiful present?
The baby quilt, of course.
She wanted something simple and unique.
I don't like repeating blocks. I am bored with this.
Sewing my way is a little bit slowly, but building blocks is interesting and surprise is always round the corner.
I could change something as I go. Probably I have to call my way CAYG (change as you go) similar to QAYG (quilt as you go).
Do not think I have no idea at the very first beginning what will be the final quilt.
I choose the fabrics and colors carefully, but I keep always my mind open for ideas born at the process of sewing.
The finished top.

As you see strips and squares are randomly placed at the middle or at one side of the block. the same with contrasting little squares.
So enjoy cutting and sewing. You are not obliged to follow perfect cutting keep in mind any quarter inch.
For one block you will need:
10" square basic color
a strip about 9" long width around 2 - 2.5" white color
2" square contrasting color
For beginners
1. Place the 10" square on your mat and make a cut randomly.


2. Divide the white strip, insert 2"square, stitch, press and trim.
Don't worry if the strip is not perfect. Mine is 2" at on end and 2.5" at the other.
This will make interesting variations at the end.

3. Insert the strip from step 2 and stitch right side together. Don't worry about uneven sides. You should have enough fabric to correct them. Press well and trim to 9"
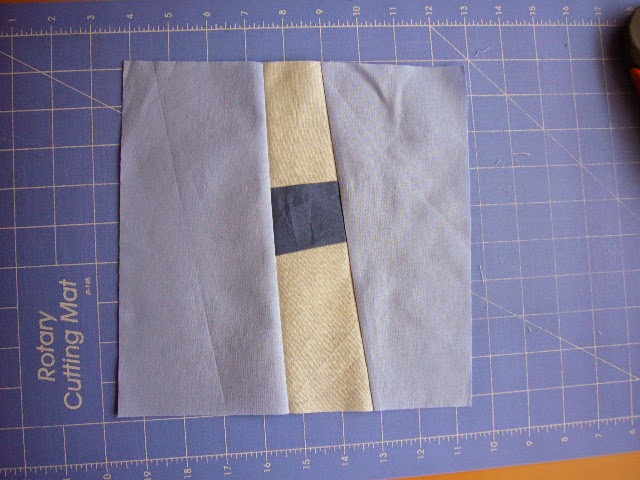
The first block is finished with no stress and complicated calculations.
4. Repeat this with next blocks.
For my baby quilt I need 16 blocks. My plans were to add wide 4" boarder.
For intermediate quilters
Probably you noticed that if you insert uneven strips the grain of the fabric won't be edge of the block.
For first attempt and beginners quilters the perfection is a goal, but for you it is a must.
Now we started from the strip.
1. Place the srtip on your mat and cut along the grain one side.

The contrasting colored piece is trapezium.
2. Place on the strip aligning to the bottom and cut following the right sight.


4. Place the part of the strip next to the piece from step 3.
You see the difference. Make a parallel cut and stitch together.


You will have a strip with perfect "grained" edge.
If needed trip the upper side.
5. Repeat the same technique to the whole block.
Here the right side is cut to the grain.
Place as you wish the strip and cut..


Stitch together, trim and press.

6. Place the remaining piece and align to the bottom.
Make a parallel cut.


7. Sew together, press and trim to 9".
You will have block with perfect grained sides.

8. Make next 15 blocks the same way.
Order all blocks as you desire and sew them together.
Add boarders up, down and at the both sides.
Add batting and backing, quilt and bind.
I have collect all pieces for the binding strip and it is very funny.

Enjoy sewing and quilting!
This comment has been removed by a blog administrator.
ReplyDelete